

This is a bit of a specialist article that shows how to do something in specific circumstances rather than try to cover all eventualities but hopefully it will be useful outside of the narrow example for those that need help.
In this article I set up a secure connection to a Linux server running Ubuntu 14.04.4 LTS on Amazon Web Services (AWS) with authentication through a token.
The connection to the server examples is shown from both a Command Line Interface (CLI) and a File Transfer Protocol (FTP) client. I’m using PuTTY for a CLI and FileZilla for my FTP client running on Windows 10 64-bit operating system.
Authentication Token
You will have to get your authentication token from the AWS Portal and it will be in a file with a PPK extension. Save this somewhere permanently where you can access it from PuTTY and FileZilla. In my case, for this example, I’m just going to save it to my desktop (which is where I’m also putting the PuTTY executable).
PuTTY – Command-Line-Interface
To follow through this example, you need PuTTY. You can get it for free from PuTTY Download and selecting the version that you want. In my case, for Windows 10, it’s the first binary. You can also install it on your operating system using the appropriate installer in the section above the binaries. If you need to create a PPK file from a private key PEM file then you’ll need the installed version to get at the PuTTYgen utility.

Save it somewhere you want to keep it in. There is no installer, it just runs from the EXE file so you could save it somewhere and create a shortcut to it from your desktop or create a tile for it on the applications or start menu. In this example, I’m just putting it on my desktop (where my PPK file is).
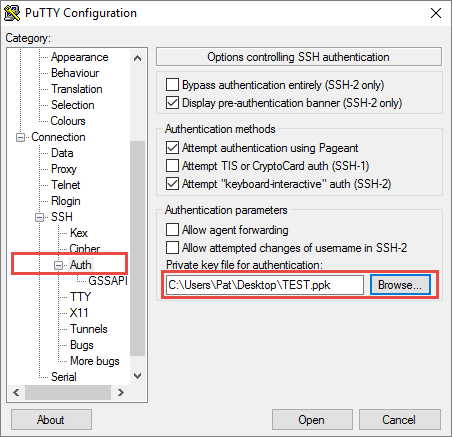
Launch Putty and from the SSH-Auth section browse to the security authentication token (TEST.ppk file in this example) on your hard disk.
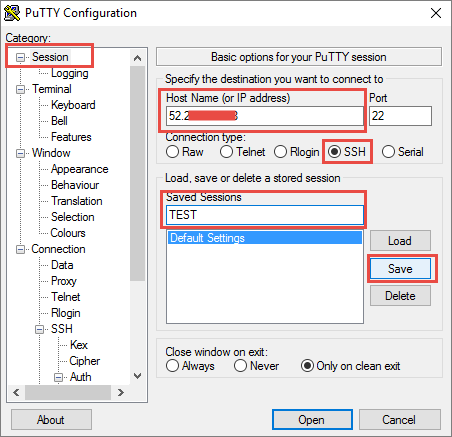
From the Session page make sure SSH is selected and enter the IP address of the server. However, before opening, you should save it for future use. You do this by entering a name in Saved Sessions and then clicking the Save button. It will appear in the list of sessions with the “Default Settings” and then you are ready to click Open.
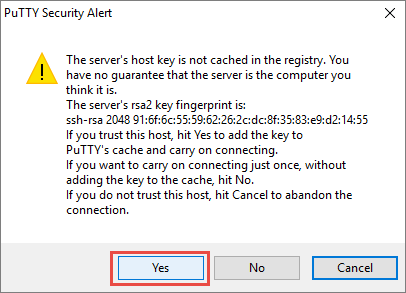
After you click Open, click Yes to clear the Security Alert.
Enter “ubuntu” as the username (without the quotes).

You are now ready to issue commands.

The “ubuntu” account has limited rights but these can be elevated by using the “sudo” command.
FileZilla – File Transfer Protocol Client
If you already have FileZilla installed then skip the download and installation steps and launch FileZilla.
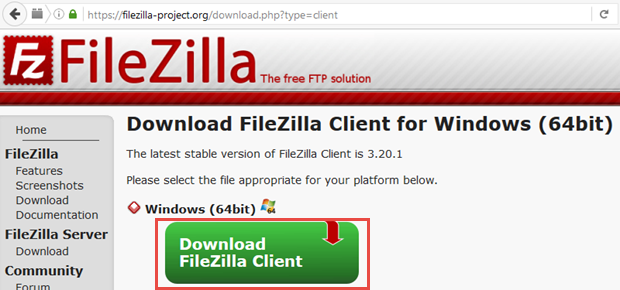
You can download FileZilla for free from FileZilla Website and select the version you are after.
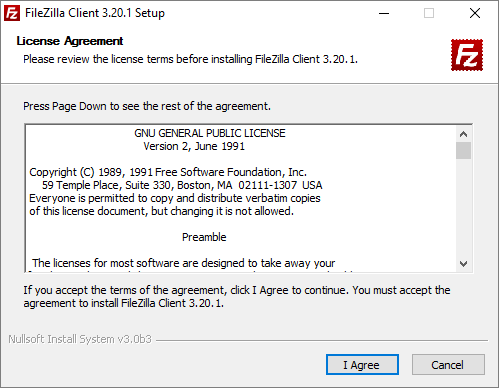
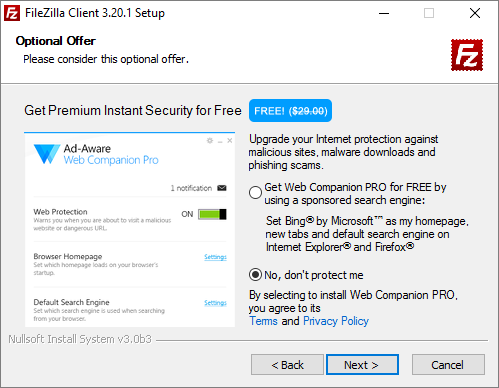
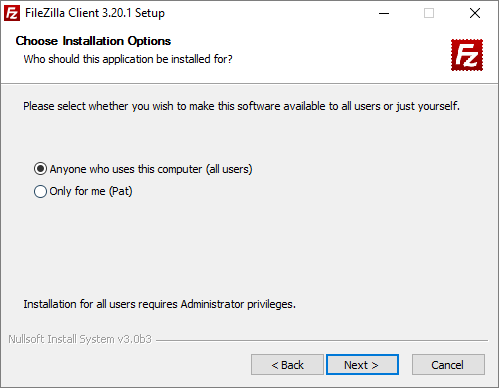
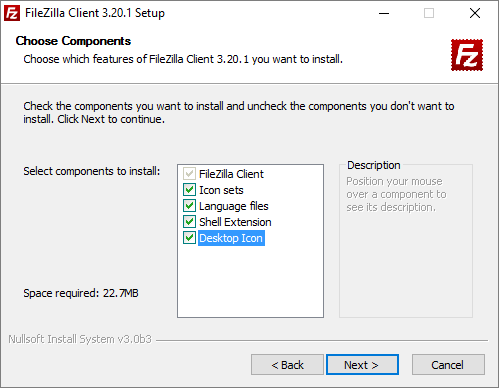
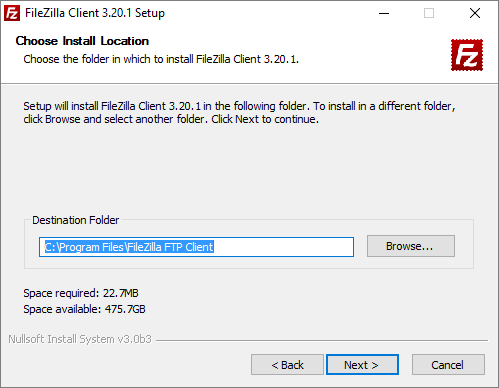
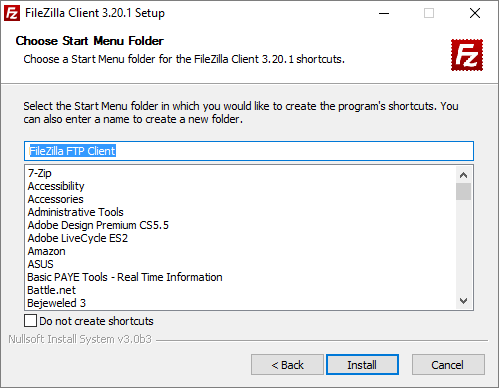
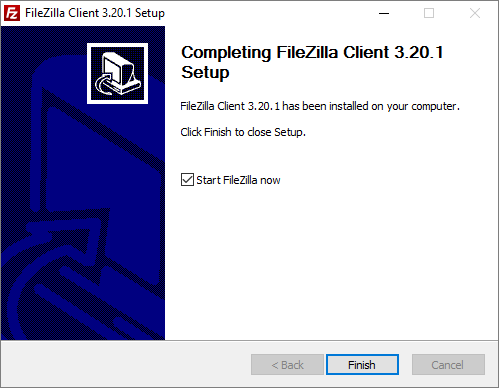
Installation involves going through lots of options. Select which ones you require and at the end leave a check in the “Start FileZilla now” box before clicking on the Finish button.
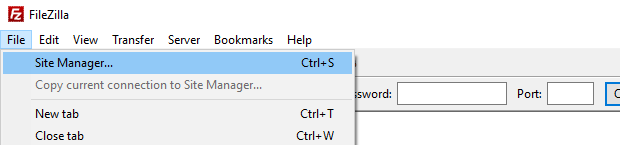
Go to File – SiteManager.
Then click on “New Site” and name the site something appropriate. On the General tab:
- set the Host to your server IP address
- the Port to “22”
- the Protocol to “SFTP – SSH File Transfer Protocol”
- the Logon Type to “Key file”
- the user to “ubuntu”
- then for Key file browse to the PPK file.
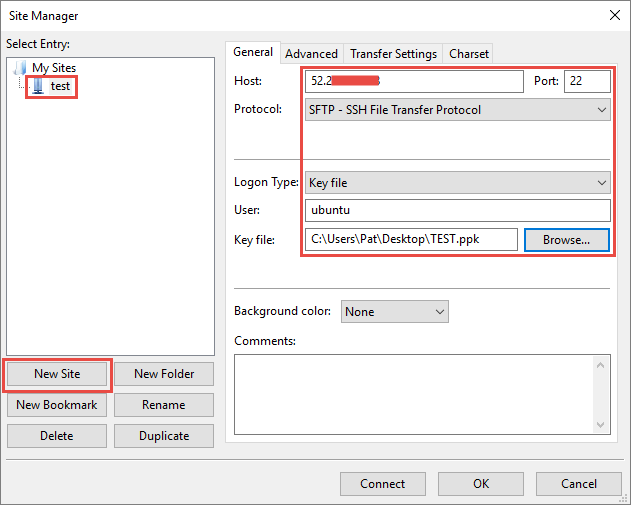
Click Connect. However, depending on your network setup, you might want to go to the Advanced tab and place a check in the box marked “Bypass proxy” before connecting.
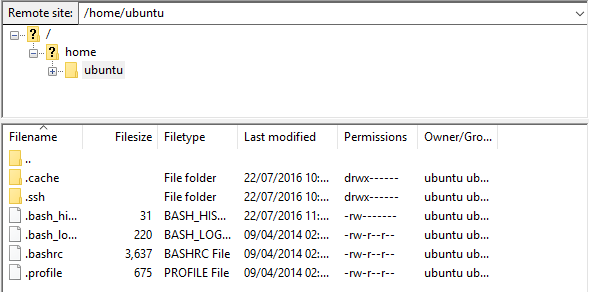
Now you can navigate around using FTP.
Related articles
This is part of a series of short articles covering setting up and maintaining a multiple domain web hosting environment using an Ubuntu Linux server. You can find an up-to-date list of those from the Hosting – Ubuntu category.